Showing posts with label Dry Rot. Show all posts

Wednesday, February 19, 2014

Structural Dry Rot Fix on Deck


The support beams on this deck were seriously rotted. This was a dangerous situation.

Consider It Done Construction was able to solve the problem by shortening the beams and bringing in the support posts. 

Check it out! It looks like it has always been in perfect condition. 
The best part? The square footage of the deck above wasn't changed! 


Tuesday, January 28, 2014

Bathroom Floor (with dry rot)

Doesn't that look nice?

The original flooring was no longer bonded to the floor, and was peeling up. 
So, we removed the toilet, fixed the dry rot, and replaced the flooring.

From another angle.

It sure needed replacing!

Wednesday, March 27, 2013

Rot on Post

Just the lower portion of the post was affected. 

Consider It Done Construction removed the dry rot and replaced it with good wood.

Monday, March 11, 2013

Laundry Room Vinyl Flooring

The carpet in the laundry area was past its useful life. 

We had to clear out the room prior to working on the floor. 

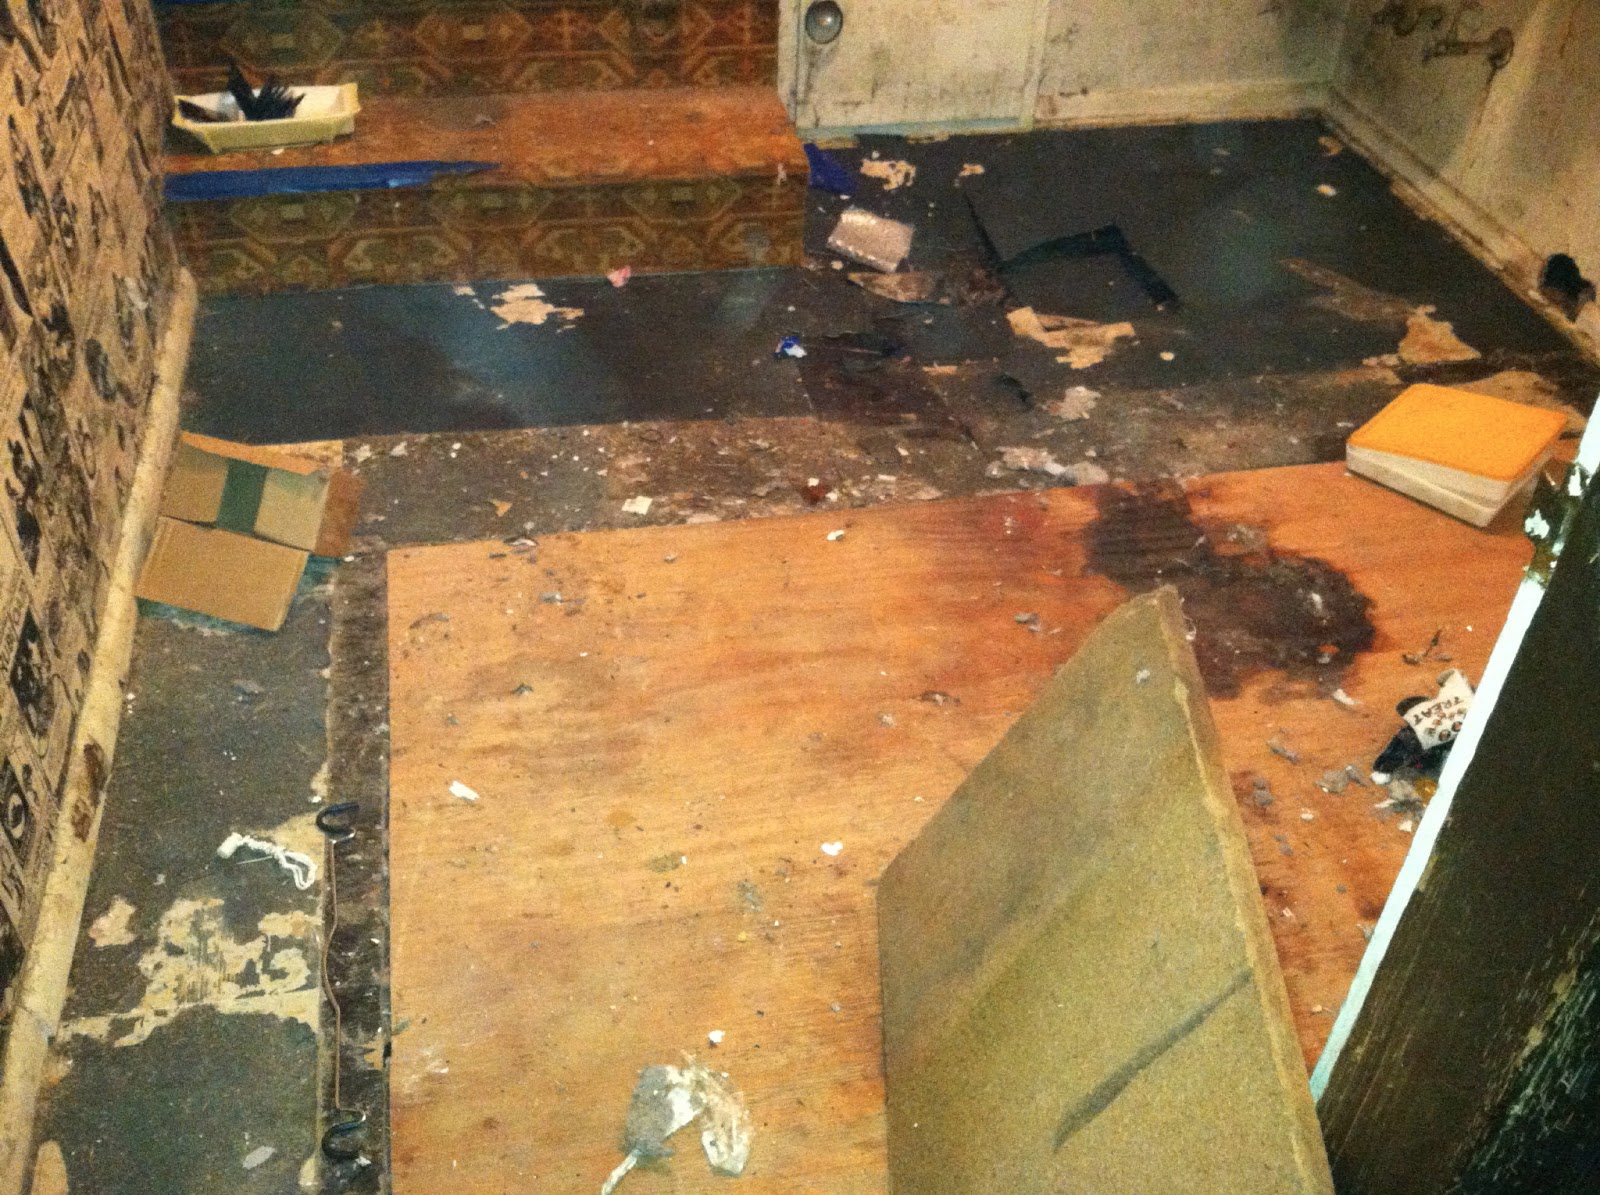
Extensive dry rot was found and repaired. It even affected the stairs, so we removed them, too.

What a tremendous difference.

Consider It Done Construction found and repaired the dry rot, re-sheeted the floor, built new, stronger stairs up to the main house, and laid new one-piece vinyl flooring.


Monday, February 4, 2013

Kitchen Sink Flashing Repair

This customer was having problems with water on the area behind the sink. 

Consider It Done Construction added a strip of flashing here to keep the water off the area.


Monday, January 7, 2013

Water Damage in Bathroom

If you look closely, the discoloration that comes from water damage is apparent in this flooring. 

The floor trim had to be removed first, in order to get the damaged flooring up. 

Consider It Done Construction repaired the damage, installed new vinyl flooring, and salvaged the original floor base. 

Tuesday, January 1, 2013

Bathroom Flooring Repair

This bathroom floor remodel is another gruesome one. We had to peel up the damage first. 

This is the same little nook next to the shower after the fix. 

It was a very complicated floor plan to do in just one piece of vinyl. 

Consider It Done Construction has the experience to lay even convoluted-shaped floors with just one piece of vinyl, resulting in a seamless install.

All that damage had to come out. (look for that floor vent in the next picture)

Nice!

 We've got an 'after' picture from this angle...

There it is, all fixed.

Monday, October 29, 2012

Dry Rot Around Toilet

The toilet was rocking, so we had to open up the floor to see what was going on. 


It was obvious someone else had tried to fix this in the past. 


 We made the repairs properly....


 And then re-sheeted the entire bathroom floor. 


 Next, we installed new vinyl flooring. 


And re-installed the toilet and new floor base. 

Problem: Solved


Monday, October 22, 2012

Sagging Beam

 The outermost beam of this carport was sagging. 

 View underneath. 

 As always, Consider It Done Construction started with the demo. You can see here, we've supported the structure temporarily, as we remove and replace the beam.


 Here's the new beam in place. 

After the new wood is painted, it won't be obvious the work was ever even needed.


Monday, September 24, 2012

Uneven Bathroom Floor

Apparently, this was an ongoing problem, that was neglected. 

It might not look too bad in the photo...


So, we put a piece of wood down to show you.....Wow, that's one wavy floor!


 The damage was extensive. 


 We pulled the toilet, and stowed it in the tub for safe-keeping...


 and started demo on the floor. 


 We had to go really deep on this one.


It's amazing how damaging water can be.

Consider It Done Construction has a great deal of experience repairing dry rot.
Our observation is: the longer it is left un-repaired, the deeper the damage.

Monday, September 17, 2012

Kitchen Floor Repair

 We found the floor had damage under the fridge. 

 Close-up of the damage.

 First we cut away the damaged wood, and repaired the area. 

 This is the repair; ready for vinyl. 

 But, of course the rest of the room needed to be prepped, too!

 Nice new vinyl where the fridge and stove belong. 

Here's the corner of the kitchen just before we put the appliances back.